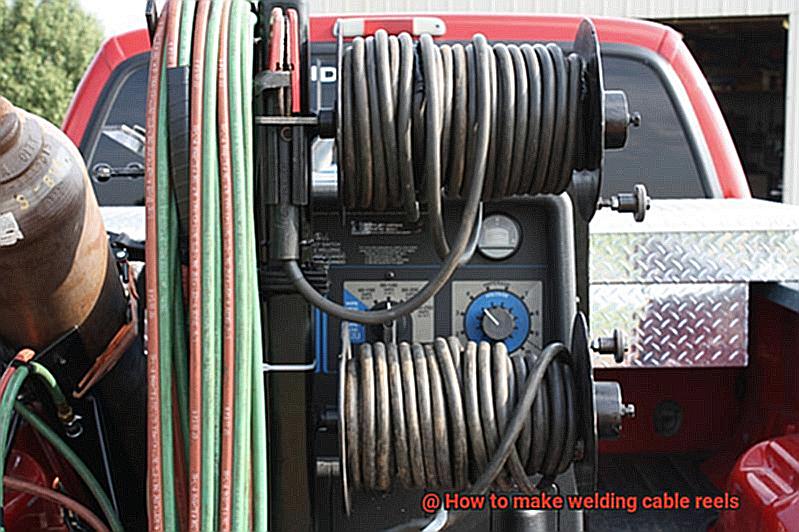
Do you find yourself constantly struggling with tangled and messy welding cables?
Do you wish there was a way to store and transport your cables without the hassle of untangling them every time you need to use them? Well, look no further.
In this post, we will teach you how to make your own welding cable reels that are both efficient and cost-effective. Purchasing a welding cable reel can be expensive, but with some basic materials and a little creativity, you can customize your own reel to suit your specific needs.
We’ll guide you through the entire process, from selecting the right materials to assembling the final product. Our step-by-step instructions will ensure that your reel is sturdy and durable while still being lightweight enough to carry around effortlessly.
Additionally, we’ll provide tips on how to personalize your reel to fit seamlessly into your workspace and cater perfectly to your welding needs. Whether you’re an experienced welder or just starting out, making your own welding cable reels can be an enjoyable and rewarding experience.
So, let’s get started now.
What Materials and Tools Do You Need to Make Welding Cable Reels?
Contents
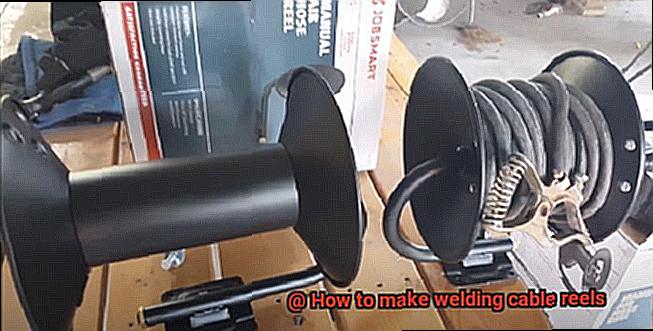
It’s easier than you think with just a few basic materials and tools. First, you’ll need a core for your reel.
PVC pipe or a wooden dowel will do the trick. Then, make the base of your reel using plywood or MDF board.
Attach the base to the core using screws and drill holes in the base for attaching the core. Next, measure out the length of welding cable you need and cut it using wire cutters.
Wind the cable in an organized manner around the spool, feeding one end through the center hole. A metal hose clamp or zip ties can be used to secure the cable in place.
For extra protection, wrap the entire spool with electrical tape. For a more professional look, you can paint or varnish your reel.
Optional casters or handles can also be added to make it easier to move around. With your custom welding cable reel complete, attach any necessary connectors or fittings to the ends of the welding cable so that it can be used with your welding equipment.
Gather up your drill, saw, sandpaper, paint or varnish, screws, metal hose clamp, and of course your PVC pipe or wooden dowel to get started. Not only will making your own reel save you some cash, but it will also ensure that you always have a reliable source of welding cable on hand.
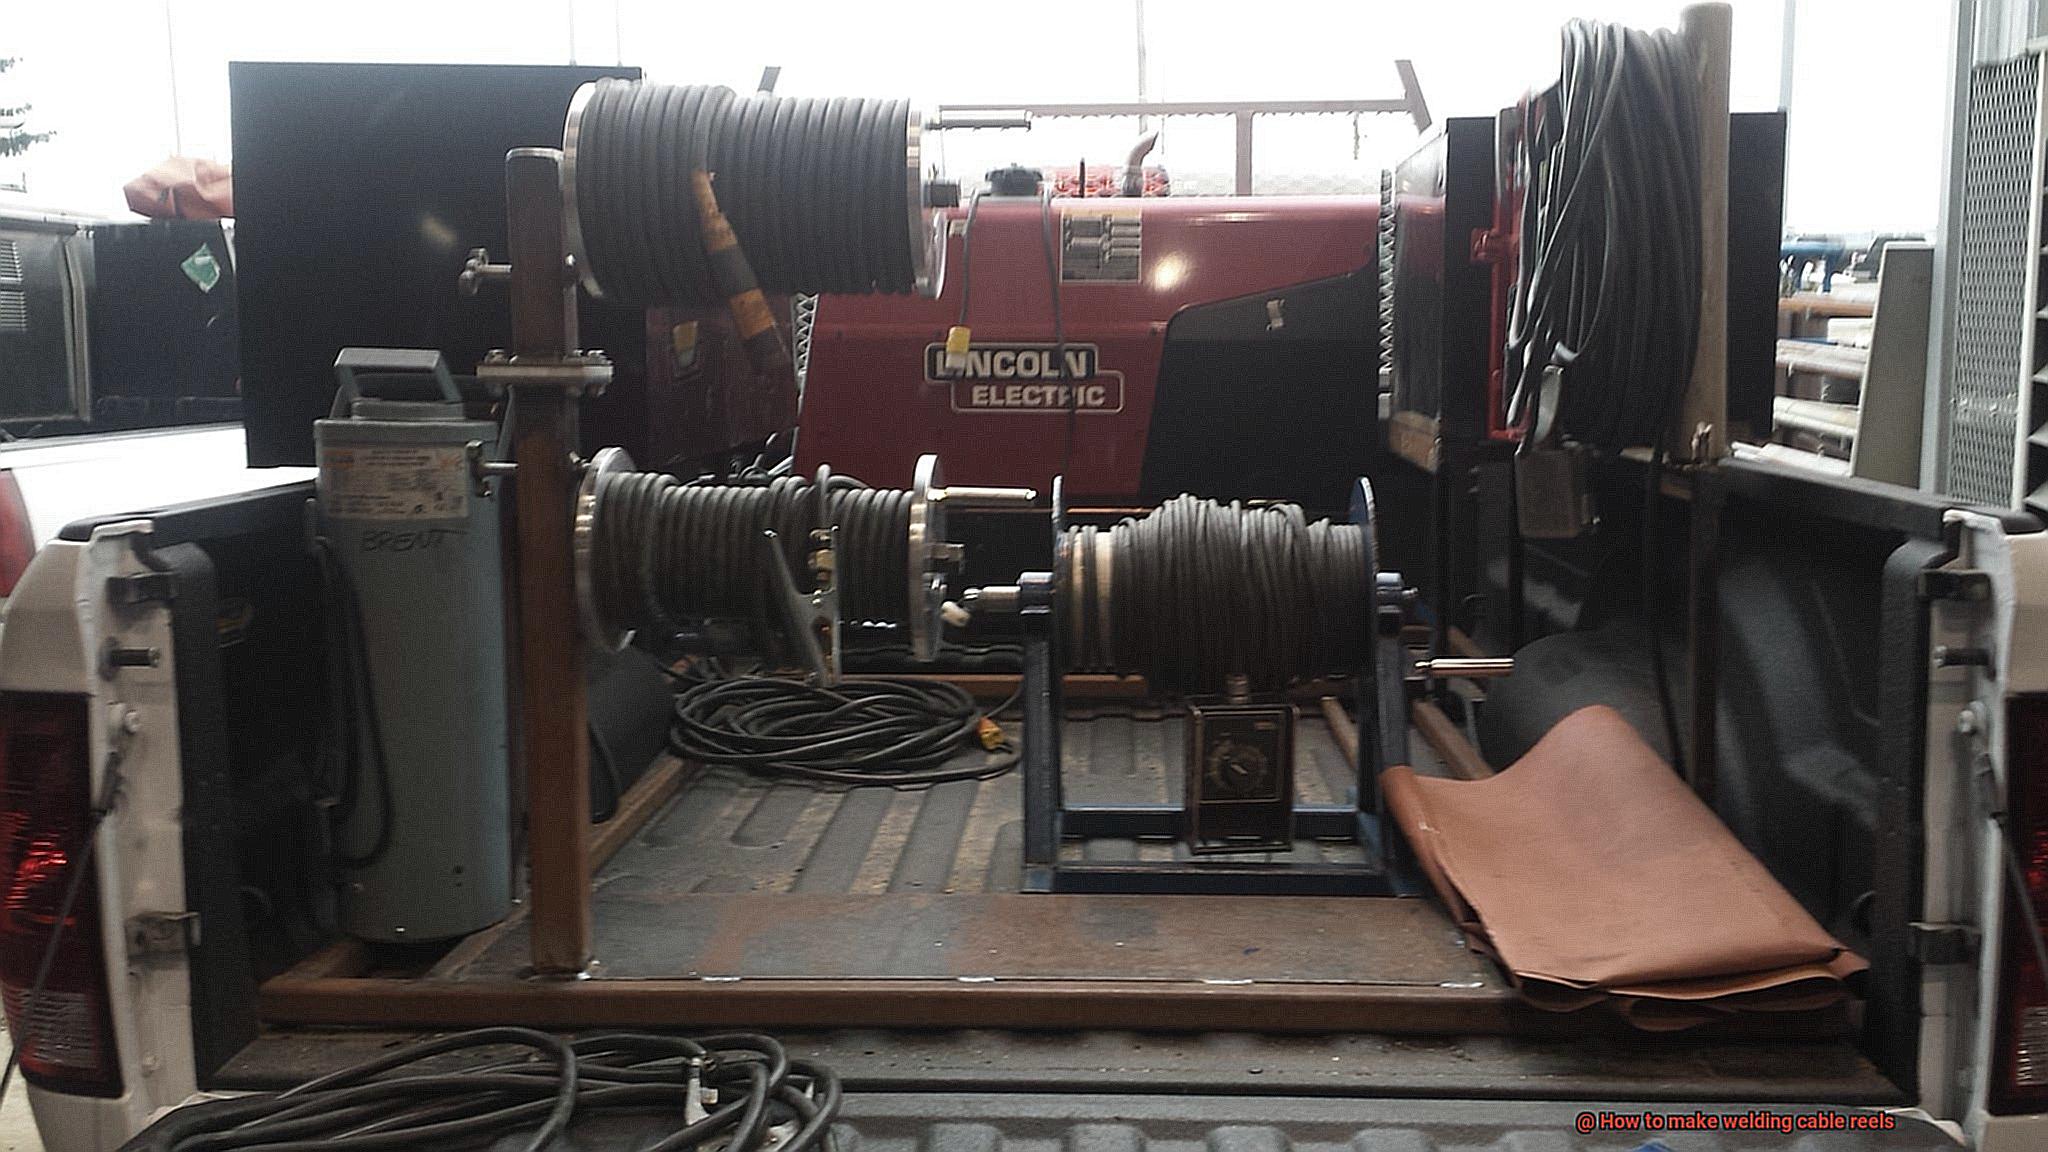
Step-by-Step Guide to Making a Welding Cable Reel
With just a few materials and some basic tools, you can easily create your own custom welding cable reel at home.
This simple and affordable solution will not only keep your workspace organized but also protect your cables from damage during storage and transport. Let’s dive into the Some easy steps for making your own welding cable reel:
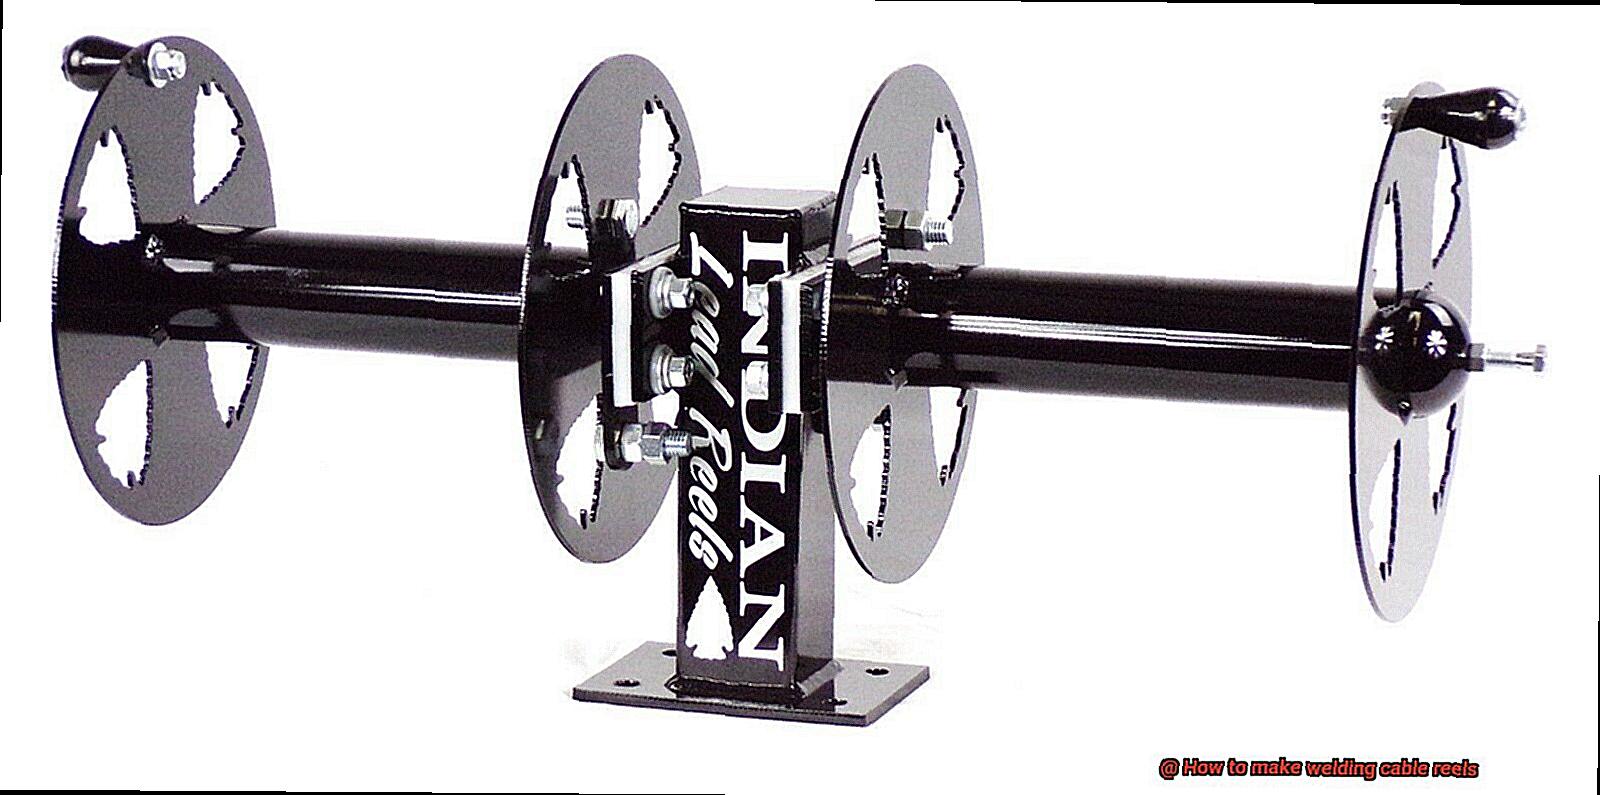
Step 1: Start by attaching the spindle to the reel. You’ll need to drill holes through the sides of the reel and the center of the spindle.

Once you place bolts through the holes, secure them with washers and nuts. Make sure the spindle is centered on the reel and securely attached.
Step 2: Cut the welding cable to your desired length using wire cutters or a sharp knife. Remember to leave enough slack so that you can connect the cable to your welding machine.
Step 3: Wind the cable onto the reel by attaching one end of the cable to the spindle. Slowly wind the cable around the reel, ensuring it’s evenly distributed and not twisted or kinked.
Step 4: Secure the cable in place by using zip ties or wire clamps on both ends of the reel. This will prevent it from unraveling during use or transport.
Step 5: Connect your welding machine by ensuring all connections are tight and secure before use. By following these simple steps, you can create a sturdy and reliable welding cable reel that suits your individual needs.
How Do Welding Lead Reels Work?
You know that keeping your workspace organized is essential to your success.
That’s where welding lead reels come in. These reels are a game-changer when it comes to keeping your welding cables organized and preventing them from getting tangled or damaged.
So, how do these reels work? Welding lead reels employ a spring-loaded mechanism that enables easy winding and unwinding of the cable.
The cable is attached to a spool or drum that rotates when you pull or release the cable. This means you can easily pull out the desired length of cable while keeping it taut as you work.
Retracting the cable back into the reel is just as simple – you can do it by turning a crank or using the spring-loaded mechanism. With welding lead reels, you can say goodbye to the frustration of tangled cables and hello to a more efficient workspace.
But before you start using welding lead reels, there’s one critical factor to consider: the amperage capacity of your cable. The amperage rating indicates how much electrical current the cable can handle without overheating or becoming damaged.
Using a cable with an incorrect amperage rating can lead to costly repairs and even dangerous accidents. To ensure optimal safety and performance, match the amperage rating of your cable with that of your welding machine.
The higher the amperage rating, the thicker and more robust your cable needs to be. For example, a 2/0 welding cable can handle up to 200 amps of current, while a 4/0 welding cable can handle up to 400 amps or more.
In conclusion, welding lead reels are essential tools for every welder out there. They make your workspace more efficient and prevent frustration caused by tangled cables.
How Many Amps Can Welding Cable Handle?
When it comes to welding, having the right cable is crucial to handle high currents without breaking a sweat.
Welding cable is like the backbone of your welding equipment, and it needs to be strong enough to handle the job but not so thick that it’s difficult to work with. The gauge size of the welding cable determines its maximum current-carrying capacity, and this is measured in American Wire Gauge (AWG).
The rule of thumb is that the larger the gauge number, the smaller the wire diameter and the lower the ampacity. For instance, a 2/0 welding cable can handle up to 200 amps continuously, while a thicker 4/0 welding cable can handle up to 300 amps.
It’s important to remember that these ratings are for continuous current and not peak or surge currents that come with welding. When you weld, you generate short bursts of high-current pulses, meaning you need cables rated for higher amperage than your actual welding requirements.
Besides the gauge size, the length of your welding cable also affects its ampacity. Long cables have higher resistance, which results in voltage drop and power losses.
So, if you’re working with longer distances, you need to use thicker cables or increase voltage to maintain the same power output. To sum it up, choosing the right welding cable gauge size and length for your needs is essential for success.
How Many Amps Will 2 0 Welding Cable Carry?
The higher the ampacity, the thicker the cable needs to be.
In the case of 2 0 welding cable, it has an ampacity of around 200 amps. However, this rating can change depending on several factors.
One of the most significant factors that can affect the ampacity of your welding cable is ambient temperature. If you’re working in hotter conditions, you may need to use a thicker cable or reduce the amperage to prevent overheating.
Similarly, if you’re using a longer cable, you’ll need to consider increasing its thickness or reducing its amperage. Another important consideration is whether your welding machine uses DC or AC welding.
AC welding requires a thicker cable than DC welding because of how current flows in AC circuits. Using the right thickness of cable is crucial for safety and optimal performance.
It’s also worth noting that different types of welding require different levels of amperage. For instance, TIG welding typically requires lower amperage than MIG or stick welding.
Therefore, it’s vital to consult your welding machine’s manual or seek professional advice to determine the appropriate amperage for your specific application. To sum it up, under normal conditions, 2 0 welding cable can safely carry around 200 amps.
However, it’s essential to consider all relevant factors and choose the appropriate cable thickness and amperage for your specific welding needs.
What Gauge Is Welding Cable?
The gauge size refers to the thickness of the copper wire inside the cable, and it’s an essential factor to consider when selecting a welding cable for your project.
Think of it as choosing the right shoes for a marathon – just like you need shoes that fit correctly and provide the right support, you need a welding cable that can handle the amperage and length required for your specific project. Welding cables come in various gauge sizes, ranging from 6 to 4/0 gauge.
The thicker the wire, the lower the gauge number. But how do you determine which gauge size is appropriate for your welding project?
- Firstly, consider your welder’s amperage. A 6-gauge welding cable can handle up to 75 amps, while a 4/0 gauge cable can handle up to 600 amps. It’s crucial to choose a cable with a gauge size that can safely carry the amperage required for your specific project without overheating or burning out.
- Secondly, consider the length of your welding cable. Longer cables tend to have more resistance and voltage drops than shorter ones. Therefore, if you’re using a longer cable, it’s advisable to use a larger gauge size to compensate for voltage drops and ensure optimal performance.
- Lastly, consider the type of welding you’re doing. Different types of welding require different amounts of amperage, and therefore different gauge sizes.
For example, MIG welding typically requires more amperage than TIG welding. Choosing the right gauge size for your welding cable is crucial for ensuring optimal performance and safety.
Using a cable with a gauge size that is too small for your welding machine can lead to voltage drops and poor weld quality, while using a cable with a larger gauge than necessary can be wasteful and unnecessary. In summary, determining the appropriate gauge size for your welding cable depends on several factors, including amperage requirements, cable length, and type of welding.
Always consult with a professional to ensure you are using the right welding cable for your specific project.
Conclusion
To sum up, creating your own welding cable reels is a cost-effective and satisfying solution to the problem of messy cables.
By using basic materials and tools, you can customize your reel to suit your specific needs and workspace. Our step-by-step guide guarantees that your reel will be strong, long-lasting, and light enough to move around with ease.
You can make it even easier to transport by adding optional casters or handles. Welding lead reels are an essential tool for every welder.
They use a spring-loaded mechanism that makes it easy to wind and unwind the cable, preventing tangled cables from causing frustration. When selecting a welding cable gauge size, you must consider factors such as amperage requirements, cable length, and type of welding.
Choosing the correct gauge size for your welding cable is critical for ensuring optimal performance and safety.