Welding is a vital aspect of metalworking, and there are various welding techniques that craftsmen use to create and repair different types of metal structures. However, one technique that is often overlooked but essential to creating a strong weld joint is tack welding. If you’re a metal worker, then you know the importance of tack welding. But if you’re new to welding, you may be wondering what tack welding is and how to do it.
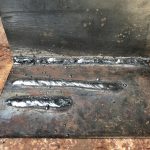
Tack welding involves creating a small and temporary weld joint before starting the main welding work on a metalwork project. The tack weld holds together the two pieces of metal to prevent them from shifting or moving around during the welding process, ensuring that the final weld joint is robust and precise.
If you want to learn how to do a tack weld like a pro, then this post has got you covered. We’ll take you through everything you need to know about tack welding, from the materials required to the steps involved in creating an excellent tack weld joint. So sit back, grab your favorite beverage, and let’s dive into the world of tack welding.
Necessary Tools and Equipment for Tack Welding
Contents
- 1 Necessary Tools and Equipment for Tack Welding
- 2 Preparing the Metal Surfaces for Tack Welding
- 3 Setting Up Your Welding Machine for Tack Welding
- 4 Positioning the Metal Pieces for Tack Welding
- 5 Striking an Arc and Moving the Electrode Along the Joint
- 6 Checking Angles and Alignment of Tack Welds
- 7 Conclusion
If you’re looking to up your welding game, then learning how to tackle tack welding is a must. But before you start, it’s essential to have all the necessary tools and equipment to ensure your success. Tack welding is the process of creating small, temporary welds that hold two pieces of metal in place before the final weld is made. This technique is crucial in ensuring that the final weld is accurate and aligned correctly.
To get started, you’ll need a welding machine that generates the heat and energy required for welding. But don’t forget about safety. Protecting your face and eyes from sparks, heat, and radiation is crucial, and that’s where a welding helmet comes in handy. Welding gloves and a jacket also provide vital protection against heat and sparks.
To hold the two pieces of metal together while you tack weld them, welding clamps are necessary. They help to keep the metal in place and prevent it from moving around. An angle grinder is used to clean the metal surface before welding, ensuring that there is no rust, dirt, or paint that could interfere with the welding process. And after welding, a wire brush comes in handy for cleaning the surface from spatter or slag left behind by the weld.
Lastly, welding rods are used to create the weld itself. They come in different sizes and materials depending on the type of metal being welded. With these necessary tools and equipment on hand, you can ensure that your tack weld will be successful and safe to perform.
Preparing the Metal Surfaces for Tack Welding
Then it’s essential to understand that the key to achieving a strong and durable tack weld lies in preparing the metal surfaces properly. In this article, we’ll dive into the steps involved in preparing metal surfaces for tack welding, so you can create accurate and aligned temporary welds with confidence.
Step 1: Clean the Metal Surfaces
First things first, clean the metal surfaces that will be welded together. Any rust, dirt, or grease can compromise the quality of the tack weld, so ensure that these contaminants are removed using a wire brush, grinder, or solvent. This step ensures that the metal surfaces are free from any impurities that could weaken the weld.
Step 2: Align the Metal Pieces
Once you’ve cleaned the metal surfaces, ensure that they are properly aligned before tack welding. Misaligned pieces of metal can result in weak welds.
Therefore, it’s crucial to check that they are flush and level before proceeding. Clamps or magnets can be used to hold the pieces in place while preparing them for welding.
Step 3: Prepare the Edges for Welding
Next up is preparing the edges for welding. This involves grinding or chamfering the edges to create a beveled edge.
A beveled edge provides more surface area for the weld and allows for better penetration into the joint. The angle of the bevel will depend on the thickness of the metal being welded.
Step 4: Minimize Gaps in the Joint
Before tack welding, it’s important to ensure that there are minimal gaps between the metal pieces.
Any gaps in the joint can result in weak welds, so address them before proceeding with tack welding. You can tap them together with a hammer or use a filler rod to fill in any gaps.
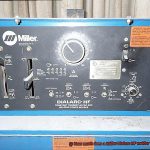
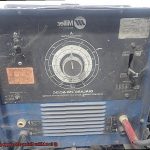
Setting Up Your Welding Machine for Tack Welding
Tack welding is a fundamental technique that plays a crucial role in creating robust and durable welds for various industrial and construction applications. To achieve successful tack welding, it’s essential to set up your welding machine correctly. In this post, we’ll take a closer look at the steps involved in preparing your welding machine for tack welding.
The first step is to ensure that your power supply is adequate for the task at hand. The voltage and amperage settings will vary depending on the metal being welded, thickness of the metal, and electrode size. It’s essential to consult the manual or seek advice from a welding expert to determine the appropriate settings.
Choosing the right electrode for tack welding is crucial. Typically, a smaller diameter electrode is used for tack welding, as it provides greater control and precision. The electrode must be clean and free of any contaminants or rust as they can impact the quality of the weld.
Preparing the workpiece is another essential step in tack welding setup. This involves cleaning the metal surface and ensuring that it’s free of oil or debris. It may also be necessary to clamp or secure the metal in place to prevent it from moving during the welding process.
Before beginning the actual tack weld, it’s important to test your settings and electrode on a scrap piece of metal. This step allows you to make any necessary adjustments before starting the actual weld.
When everything is ready, it’s time to perform the tack weld. Strike an arc quickly onto the metal surface and then immediately release it. This creates a small weld bead that temporarily holds two pieces of metal together, allowing for further welding to be done later.
Positioning the Metal Pieces for Tack Welding
If so, it’s important to know that properly positioning your metal pieces is just as crucial as the welding itself. In fact, even the slightest misalignment or lack of precision can lead to weak or incomplete welds, which can compromise the strength and durability of your final product.
To avoid these issues, start by ensuring that your metal pieces are clean and free of any debris. This will not only help you achieve a strong weld, but also prevent contamination issues. Once they are clean, carefully align your pieces in the desired position using clamps or other appropriate tools. Make sure they are exactly aligned as they should be in the final product, as tack welding will hold them together until the final weld is completed.
Now it’s time for the fun part – tack welding. A tack weld is a small, temporary weld that holds the pieces together until you complete the final welding.
It’s essential to use just enough heat and filler metal to create a strong bond between the two pieces. Additionally, pay attention to the sequence in which you weld. Start at one end of the joint and work your way towards the other end, ensuring that each tack weld is evenly spaced and properly aligned.
Striking an Arc and Moving the Electrode Along the Joint
Tack welding is a critical process that involves striking an arc and moving the electrode along the joint with precision and care. To strike an arc, you must gently touch the electrode to the metal surface, then quickly lift it back to create a high temperature that melts the metal and allows for bonding. It’s crucial to maintain a safe distance between the electrode and the metal surface to avoid sticking or getting too close, which can cause damage to both the electrode and the metal.
Once the arc is established, it’s time to move the electrode along the joint in a controlled manner. Remember to move slowly and steadily, tilting the electrode slightly towards the direction of travel. This will create a uniform bead that will hold the pieces of metal together securely. Precision is key when tack welding, so ensure that tacks are evenly spaced along the joint and consistently sized.
Before starting tack welding, it’s essential to remove any contaminants from the metal surface. Rust or oil can cause defects in the weld and weaken its strength. By taking extra caution when preparing for tack welding, you’ll be able to produce strong and secure joints that can withstand stress and pressure.
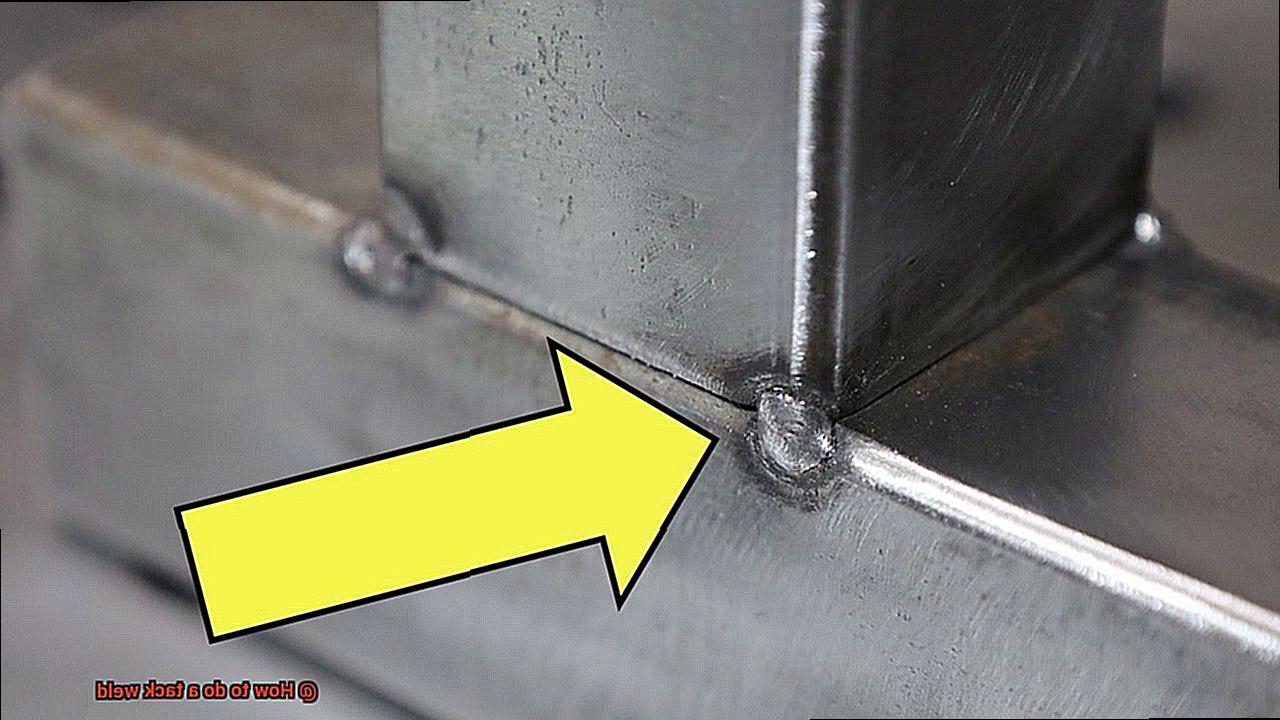
Checking Angles and Alignment of Tack Welds
When it comes to tack welding, precision is key. After all, the strength and durability of the final weld depend on the quality of the tack welds. That’s where checking the angles and alignment of the tack welds comes in – it’s a crucial step that ensures the final product will be up to par.
To check the angles of the tack welds, a protractor can be your best friend. It allows you to measure the angle between the two pieces of metal being welded together, and make sure it matches the desired angle for the joint being created. This little tool can save you from headaches down the line, as even small deviations in angles can lead to weak and unstable welds.
Another important factor is alignment – you want your tack welds to be straight and even. Use a straight edge to inspect them and make sure they are in line with each other. A quick fix at this stage can prevent costly mistakes later on.
It’s worth noting that taking care during the tack welding process can save you time and money in the long run. By properly inspecting and adjusting tack welds, you can prevent potential failures or defects in your finished product.
So don’t rush through this step – take your time, be precise, and ensure your tack welds are aligned perfectly.
VBt3IRGO8B0″ >
Conclusion
To sum up, tack welding is a crucial skill that every metalworker should master. It involves creating small and temporary welds to hold two pieces of metal together before starting the main welding work on a project. Tack welding ensures that the final weld joint is strong, accurate, and aligned correctly.
To perform a successful tack weld, you need to have the right tools and equipment such as a welding machine, helmet, gloves, jacket, clamps, angle grinder, wire brush, and welding rods. Properly preparing the metal surfaces for tack welding is also essential. This means cleaning them properly, aligning them correctly and preparing the edges for welding by grinding or chamfering them to create a beveled edge while minimizing gaps in the joint.
Setting up your welding machine for tack welding requires choosing the right electrode size and type based on the thickness of the metal being welded. Positioning your metal pieces accurately is equally important as it ensures precision during tack welding.
Striking an arc and moving the electrode along the joint with care while checking angles and alignment of tack welds are other critical steps in performing an excellent tack weld.