Imagine this scenario: you’ve just finished using JB Weld to patch up a crack in your engine block. You’ve meticulously followed all the instructions and allowed it to cure for a full day. But then, you discover another crack nearby. You’re left wondering – can you put JB Weld over JB Weld? Will it hold up? These are the questions that have been on the minds of DIY enthusiasts, car mechanics, and industrial workers for years.
JB Weld is a popular two-part epoxy renowned for its strength and durability. It’s an excellent choice for fixing leaky pipes or repairing holes in your car’s exhaust system. However, when it comes to adding another layer of JB Weld over an existing one, there are some important considerations to keep in mind. Will the bond be strong enough? Or will you end up with a weak repair that may eventually fail?
In this blog post, we’ll delve into the pros and cons of putting JB Weld over JB Weld. We’ll examine the factors that impact bond strength, explore the risks of layering epoxy, and offer best practices for achieving a robust repair.
Whether you’re an experienced DIYer or new to working with epoxy adhesives, this post will provide you with valuable insights to make informed decisions about using JB Weld over JB Weld. So sit tight and let’s jump right in.
What is JB Weld?
Contents
JB Weld is known for its versatility and its ability to bond surfaces together, fill gaps, and even create molds. It’s like having a superhero that can fix almost anything. The adhesive comes in two tubes containing resin and hardener that, when mixed together in equal parts, form a strong bond capable of withstanding high temperatures and pressure.
But it’s not just a temporary fix – JB Weld is a long-lasting solution. Once applied, it can be sanded, drilled, painted over, and even machined to fit specific needs. So whether you’re working on automotive repairs, plumbing fixtures, or household appliances, JB Weld has got you covered.
What sets JB Weld apart is its ability to bond different types of surfaces together. It can bond metals such as steel, aluminum, brass, and copper, as well as plastics like PVC, ABS, and polycarbonate. JB Weld can also be used on wood, ceramics, fiberglass, and concrete. Its strength and durability make it an excellent choice for repairs that need to withstand heavy use or extreme conditions.
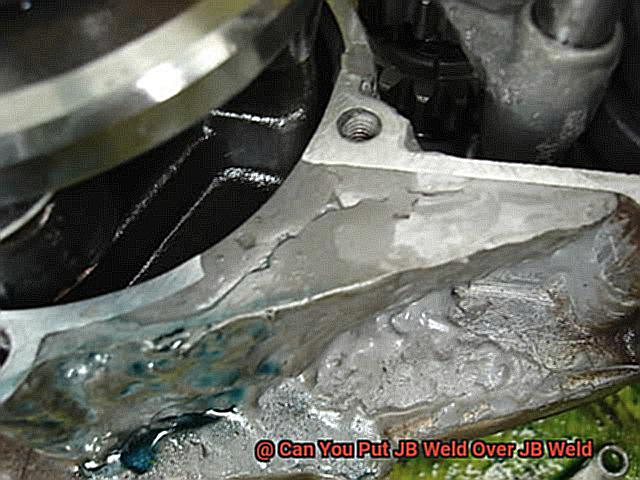
But what if you’ve already used JB Weld on a surface? Can you add another layer on top? Yes – but there are some important factors to consider. You must ensure that the previous layer is clean and free from any dirt or debris. You may need to sand or grind the surface gently until it is smooth and free from any bumps or irregularities. Although applying multiple layers of JB Weld is possible, it may not always be the best solution. In some cases, it may be better to remove the old layer of JB Weld and start afresh with a new application.
So, JB Weld is a versatile and reliable adhesive that has many applications in various industries. Whether you’re a DIY enthusiast or a professional, JB Weld is a must-have in your toolbox. Its strength and durability make it the perfect solution for repairs that need to withstand heavy use or extreme conditions.
Can You Put JB Weld Over JB Weld?
If you’re wondering whether you can put JB Weld over JB Weld, the answer is not as straightforward as a simple yes or no. The success of applying a new layer of JB Weld over an existing one depends on several factors that need to be considered.
Think of it like building a tower with blocks. If you start with a weak foundation, adding more blocks on top won’t make it stronger. Similarly, if the original JB Weld layer is old and has been exposed to heat or moisture, it may have weakened or developed cracks. In this case, applying a new layer of JB Weld over it may not be effective as it will not adhere properly to the weakened surface.
To ensure that the surface is suitable for application, it’s crucial to make sure that it is clean, dry, and free from any contaminants before applying a new layer of JB Weld. Think of it like painting a wall – you wouldn’t want to paint over dirt or bumps as it will affect the finish. Similarly, applying JB Weld over a dirty or bumpy surface can lead to an uneven finish and weaker bond.

The type of JB Weld product used also plays a significant role in determining whether a new layer can be applied over an existing one. Different products are designed for specific materials such as metal, plastic, glass, and ceramic. It’s essential to check the manufacturer’s instructions for compatibility before attempting to apply a new layer.
Lastly, consider the intended application of the new layer of JB Weld. If it involves high temperatures or exposure to harsh chemicals or solvents, applying a new layer over an existing one may not be advisable. In such cases, it may be best to remove the old layer and apply a fresh one.
So, while it is possible to apply a new layer of JB Weld over an existing one, it depends on various factors. By assessing the condition of the old layer, checking for compatibility with the product used, and considering the intended application, you can ensure a successful outcome when using JB Weld over JB Weld. Think of it like building a sturdy tower with strong blocks – a solid foundation and careful consideration will lead to a sturdy structure.
Preparing the Surface Before Applying JB Weld
Picture yourself building a tower with blocks. You start by placing one block on top of another, carefully ensuring they are aligned and secure. But what if the foundation of the tower is weak? Adding more blocks won’t make it stronger. The same principle applies to using JB Weld over JB Weld. A weak foundation won’t make it stronger, and the success of adding a new layer depends on factors such as surface condition, product compatibility, and intended application.
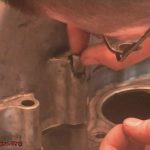
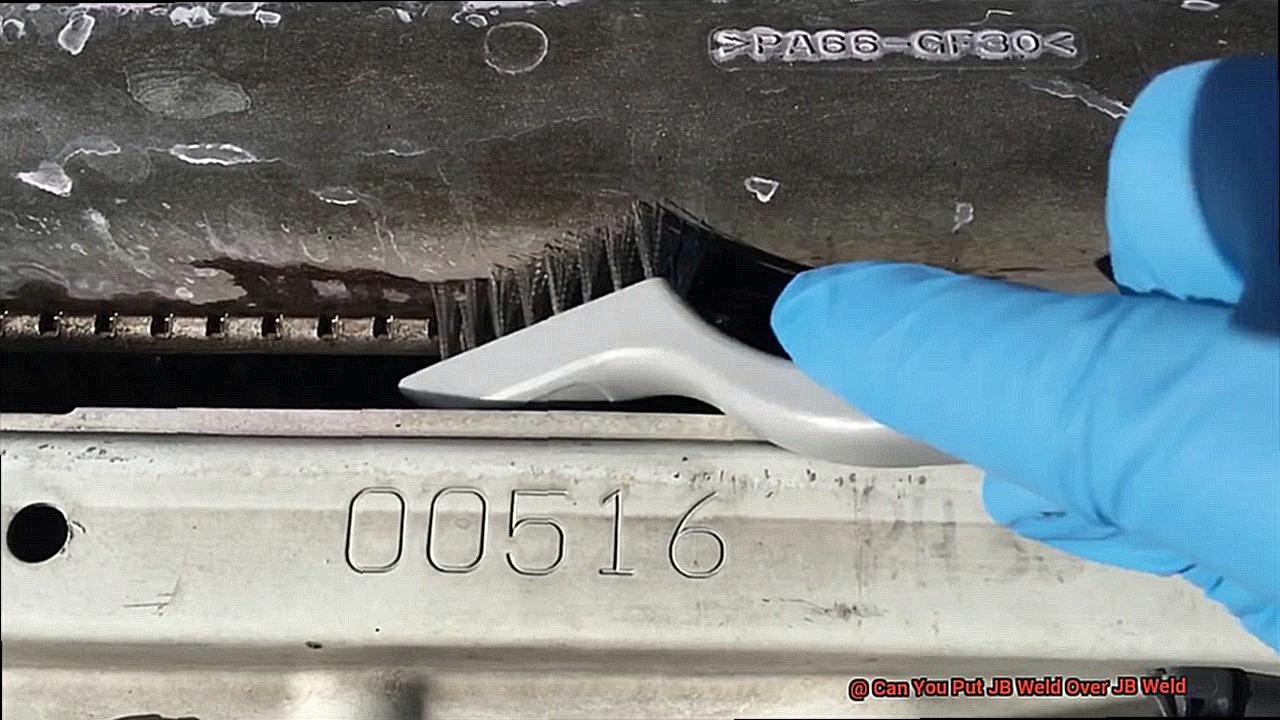
One crucial factor in achieving a successful bond when using JB Weld over JB Weld is preparing the surface correctly. Before applying the second layer of JB Weld, ensure the surface is clean, dry, and free from any contaminants such as oil, grease or rust. To achieve this, use a degreaser or rubbing alcohol to clean the surface thoroughly.
Next, remove any loose or flaking material from the first layer using sandpaper or a wire brush. This will guarantee that the second layer of JB Weld adheres properly to the first layer. After removing any loose material, roughening the surface by creating small crisscross patterns with sandpaper will help create a better mechanical bond between the two layers of JB Weld.
Leveling and flattening the surface is also crucial before applying the second layer of JB Weld. Uneven surfaces can lead to weaker bonds and eventual failure of your project. So, ensure that you take time to level and flatten the surface before proceeding to apply the second layer.
Last but not least, it’s important to note that applying a second layer of JB Weld over an existing layer should only be done when the first layer has fully cured. Waiting for at least 24 hours for the first layer to fully cure will ensure maximum adhesion and strength between layers.
Advantages and Disadvantages of Applying Multiple Layers of JB Weld
If you’re looking for a strong and durable repair, JB Weld is a popular choice. But what about using multiple layers of JB Weld? As an expert on this topic, I have researched both the advantages and disadvantages of applying multiple layers for repairs.
Let’s start with the advantages. Firstly, multiple layers of JB Weld can increase the strength of the repair by adding to its overall stability and durability. This is particularly useful for engine parts or items under a lot of stress.
Secondly, applying multiple layers can improve the durability of the repair. If you’re fixing something that will be used frequently or exposed to harsh weather conditions, multiple layers can ensure that the repair lasts longer.
Lastly, adding more layers can improve adhesion between the repair and the surface. If the first layer has already cured, subsequent layers will have a rough surface to adhere to, creating a stronger bond overall.
However, there are also some disadvantages to consider before applying multiple layers of JB Weld.
Firstly, each layer needs time to dry before another layer can be added. This can significantly extend the repair time and require patience.
Secondly, using multiple layers means you will need to purchase more product, which can be costly.
And finally, if you plan on sanding down the repair, multiple layers can make this process more difficult and time-consuming.
How to Apply JB Weld Properly
JB Weld is an adhesive that has been trusted by professionals and DIY enthusiasts alike for its strong bonding properties. However, applying it properly is crucial to ensure a successful repair. In this guide, we’ll take you through the steps of how to apply JB Weld properly, so you can achieve a bond that’s strong, durable, and long-lasting.
Preparing the Surface
The first step to applying JB Weld properly is to prepare the surface that needs to be bonded. This step is crucial because any residue on the surface can prevent the epoxy from bonding properly.
To prepare the surface, clean it thoroughly with a degreaser or rubbing alcohol to remove any oils or debris. After cleaning, use coarse sandpaper to create a rough surface that will help the JB Weld adhere better.
Mixing Thoroughly
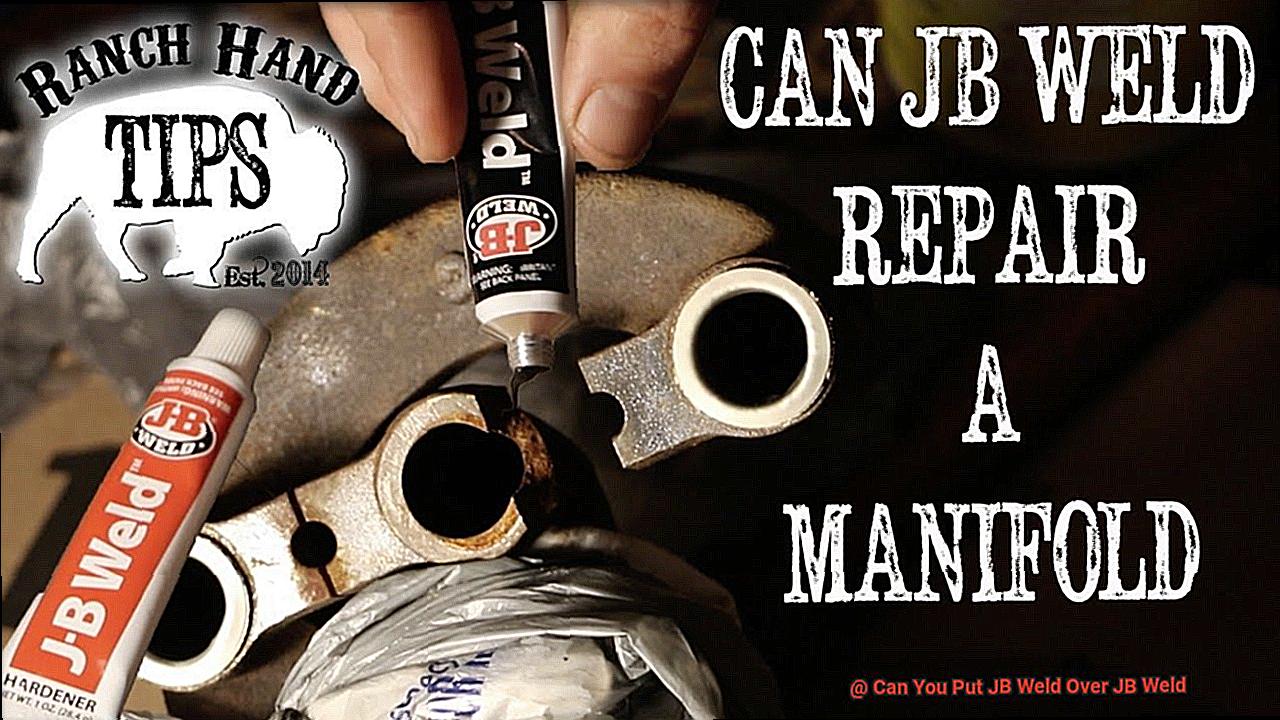
Mixing JB Weld properly is essential to ensure a strong bond. The two parts of the epoxy should be mixed thoroughly until they are evenly blended. It’s important to note that once the two parts are mixed, the epoxy will start to harden quickly, so it’s best to only mix what you need for each application. Use a clean and dry mixing surface and tools for accurate results.
Applying Evenly
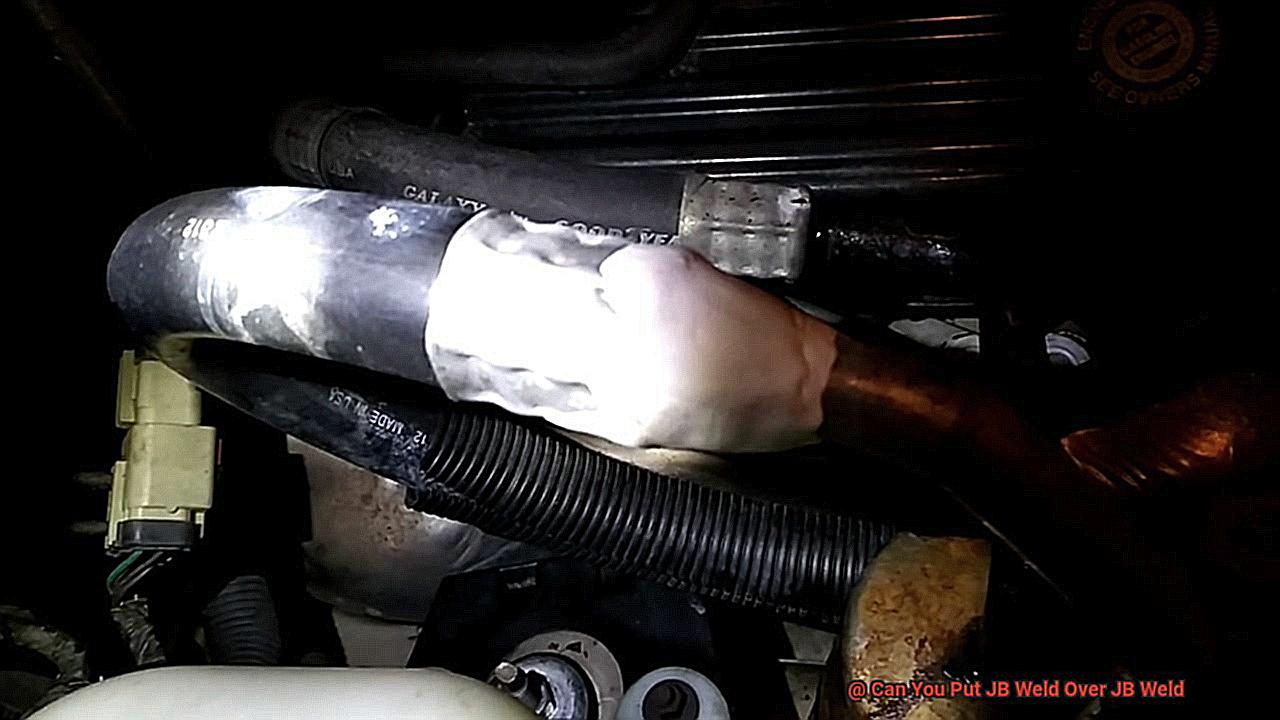
When applying JB Weld, use a consistent amount of pressure and spread the epoxy evenly over the surface. You want to avoid applying too much pressure or too little pressure, as this can affect the strength of the bond.
Additionally, if the epoxy is not spread evenly, it can cause air pockets or uneven surfaces, which can weaken the bond. Use a putty knife or spatula for smooth and even application.
Letting it Cure Properly
After applying JB Weld, it’s important to let it cure properly. The curing time can vary depending on the temperature and humidity of the environment, but typically it takes around 24 hours for JB Weld to fully cure.
During this time, it’s important to avoid touching or moving the bonded surface to ensure that the bond sets properly. The longer you allow the JB Weld to cure, the stronger the bond will be.
Applying Another Layer (if necessary)
If you need to apply another layer of JB Weld over an existing layer, it is possible to do so. However, it is important to sand the existing layer first to create a rough surface for the new layer to adhere to.
It is also important to wait until the existing layer has fully cured before applying another layer. This will ensure that each layer bonds well and lasts long.
So, applying JB Weld properly is crucial for a successful repair. By following these tips and tricks, you can ensure that your JB Weld bonds are strong, durable, and long-lasting. Remember to take your time with each step and use consistent pressure and even application for a perfect bond.
Common Mistakes to Avoid When Using JB Weld
However, like any skill, it takes practice and patience to achieve perfection. It’s important to be aware of common mistakes that can compromise the effectiveness of your JB Weld repair.
One of the most important things to keep in mind is that JB Weld will not bond effectively if it is applied to a dirty or greasy surface. Think of it like trying to stick a sticker onto a filthy surface – it just won’t adhere well.
Therefore, ensure that the surface is clean and dry before applying JB Weld. Use a degreaser to clean the area thoroughly and give it time to dry completely.
Mixing the two parts of JB Weld is equally essential. You want to ensure that the resin and hardener are mixed in equal parts to create a strong bond. Failure to mix these parts adequately can result in an insufficient cure, reducing the bond’s overall strength. Make sure you mix until you have a uniform color.
It’s also important to avoid applying too much JB Weld at once. While it may be tempting to apply a thick layer of the epoxy, this can result in air bubbles getting trapped in the mixture, which can weaken the bond. Instead, apply a thin layer and allow it to cure completely before adding additional layers if necessary.
Lastly, it’s crucial to follow the curing time instructions carefully. JB Weld typically takes several hours to cure fully, but this can vary depending on factors like temperature and humidity. Rushing the curing process or using the repaired item before it has fully cured can result in a weaker bond that could fail over time.
Conclusion
In summary, adding another layer of JB Weld over an existing one can be a bit tricky. It requires careful consideration of factors like surface condition, product compatibility, and intended application. Proper preparation of the surface is crucial for achieving a strong bond between layers. Additionally, applying each layer evenly with consistent pressure is essential to ensure successful results. Avoiding common mistakes such as applying too much epoxy at once or rushing the curing process is also important.
JB Weld is a versatile and reliable adhesive that has many applications in various industries. Its strength and durability make it the perfect solution for repairs that need to withstand heavy use or extreme conditions. By following best practices and taking your time with each step, you can ensure that your JB Weld bonds are strong, durable, and long-lasting.
Whether you’re a seasoned DIYer or new to working with epoxy adhesives, this guide provides valuable insights to help you make informed decisions about using JB Weld over JB Weld. Remember to carefully weigh the advantages and disadvantages of applying multiple layers before starting your repair job.